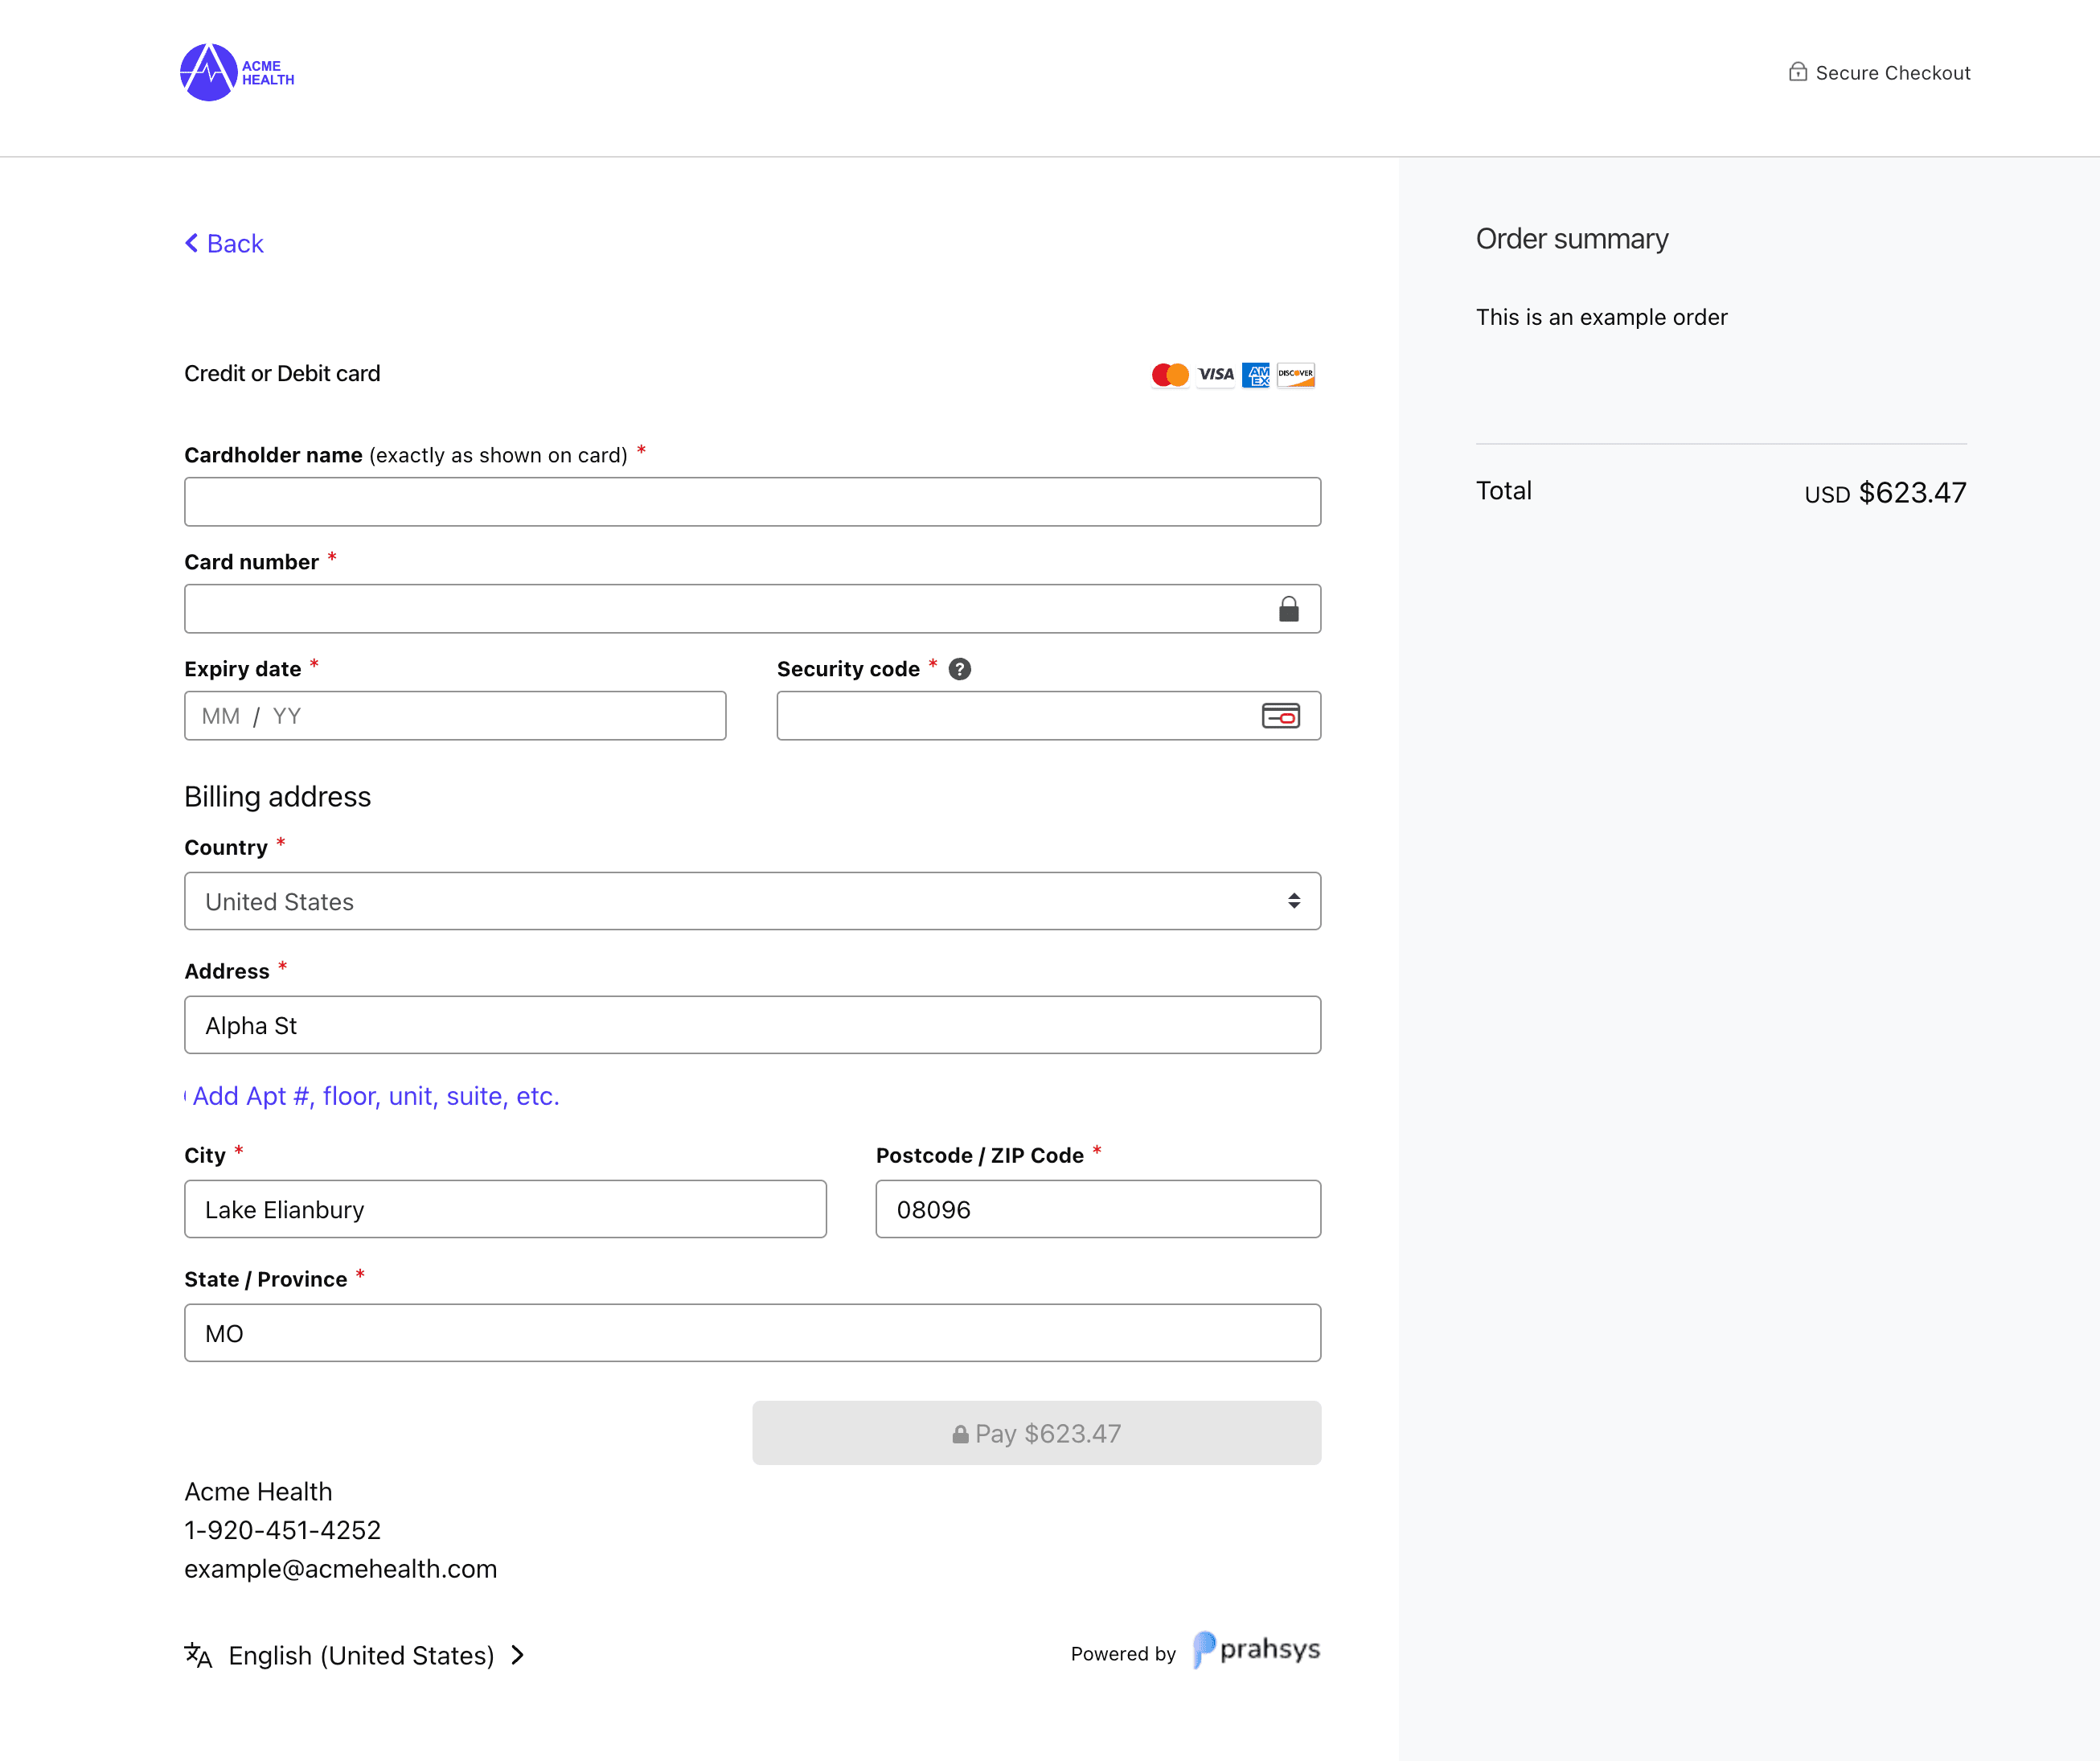
Pay Portal
Pay Portal is a hosted payment solution that requires minimal integration effort. It provides a secure, pre-built payment form that handles the entire payment process for you. Portal sessions can be used to pay or authorize payments, or be used to verify or tokenize card info.
Important: Payment IDs are created/generated by you before making API calls. These IDs should be unique identifiers in your system and are passed in the request URLs. You can use your own Payment ID or create one using the Update or Create Payment endpoint.

Key Features
- Complete Payment Form: Includes all necessary fields and validation
- Secure Processing: Handles PCI compliance requirements
- Payment Methods: Support for credit cards and tokenized payments
- Responsive Design: Works on all devices and screen sizes
How It Works
Integration Steps
Step 1: Create a Pay Portal Session
To create a Pay Portal session, send a POST request to our Pay Session API endpoint and include the "portal" object in the request:
If the "portal" object is not included in the request, then a regular Pay Session will be created.
Allowed operations are: PAY, AUTHORIZE, VERIFY, or NONE. Using the NONE operation just stores card information in the session.
You can later use the session id to tokenize the card details.
// Create a Pay Portal session
const response = await fetch("https://api.prahsys.com/payments/n1/merchant/{merchantId}/session", {
  method: "POST",
  headers: {
    Authorization: `Bearer ${apiKey}`,
    "Content-Type": "application/json",
  },
  body: JSON.stringify({
    portal: {
      operation: "PAY",
      returnUrl: "https://your-store.com/checkout/complete",
      cancelUrl: "https://your-store.com/checkout/cancel",
      merchant: {
        name: "Your Store Name",
        logo: "https://your-store.com/logo.png",
      },
    },
    payment: {
      id: "PAYMENT-123",
      amount: 99.99,
      description: "Premium subscription",
    },
  }),
});

// The response will contain the session { id } which you'll need for the next step
// It will also include successIndicator which you'll need to verify the payment result
const session = await response.json();
The session object will contain the session ID and successIndicator
// session = response.json()
{
  "success": true,
  "message": "Session created",
  "data": {
    "id": "SESSION0002776555072F1187121H61",
    "portal": {
      "successIndicator": "b7a1513be2914023"
    }
  }
}
Step 2: Configure the Pay Portal on the Client Side
Add the Pay Portal JavaScript library to your checkout page and configure it with the session ID:
<!-- Include the Pay Portal JavaScript library -->
<script src="https://secure.prahsys.com/static/checkout/checkout.min.js"></script>
After loading the script, Checkout object is loaded to the window.
// Configure the Pay Portal with the session ID
window.Checkout.configure({
  session: {
    id: session.data.id, // The session ID from Step 1
  },
});
Step 3: Show the Payment Page
After configuring the Pay Portal, you need to launch the payment page. There are two ways to do this:
Option 1: Redirect to the Payment Page
// Launch the Pay Portal payment page
window.Checkout.showPaymentPage();
Option 2: Embedded Payment Page
If you want to embed the payment page in your website:
<!-- Create a container for the embedded payment page -->
<div id="embedded-pay-portal"></div>
// Launch the Pay Portal in embedded mode
window.Checkout.showEmbeddedPage("#embedded-pay-portal");
Step 3.1: Test Mode
Grab a test card from our Test Cards page to test the payment flow in the sandbox environment.
Step 4: Handle the Response
When the payment is complete, the customer will be redirected to the returnUrl specified in Step 1. The session response from Step 1 includes a successIndicator value that you can use to verify the payment status.
Using the successIndicator
The successIndicator is a unique identifier returned in the session creation response that helps you verify the payment result.
When the customer completes payment and is redirected to your returnUrl, you can check for the resultIndicator parameter in the redirect URL:
// On your return URL handler
const resultIndicator = req.query.resultIndicator;

// Compare with the stored successIndicator
if (resultIndicator === successIndicator) {
  // Payment successful - fulfill the order
} else {
  // Payment failed or was canceled
}
You should also verify the payment status via the API before fulfilling orders to ensure complete security.
Complete Integration Example
Here’s a complete example showing how to integrate Pay Portal:
<!DOCTYPE html>
<html>
  <head>
    <title>Pay Portal Example</title>
    <!-- Include the Pay Portal JavaScript library -->
    <script src="https://secure.prahsys.com/static/checkout/checkout.min.js"></script>
  </head>
  <body>
    <h1>Complete Your Purchase</h1>
    <button onclick="launchPayPortal()">Pay Now</button>

    <script>
      // Function to launch the Pay Portal
      function launchPayPortal() {
        // The session ID should be obtained from your server
        const sessionId = "YOUR_SESSION_ID";

        // Configure the Pay Portal
        Checkout.configure({
          session: {
            id: sessionId,
          },
        });

        // Launch the payment page
        Checkout.showPaymentPage();
      }
    </script>
  </body>
</html>
Best Practices
- Always create Pay Portal sessions server-side, never client-side
- Configure the Pay Portal client-side with just the minimal required session ID
- Store the
successIndicatorsecurely on your server (not in browser storage or cookies) - Always compare the
resultIndicatorwith the storedsuccessIndicatorto verify payment success - Verify the payment status via the API before fulfilling orders
- Use HTTPS for all communications
- Test all payment flows in the sandbox environment before deploying to production